

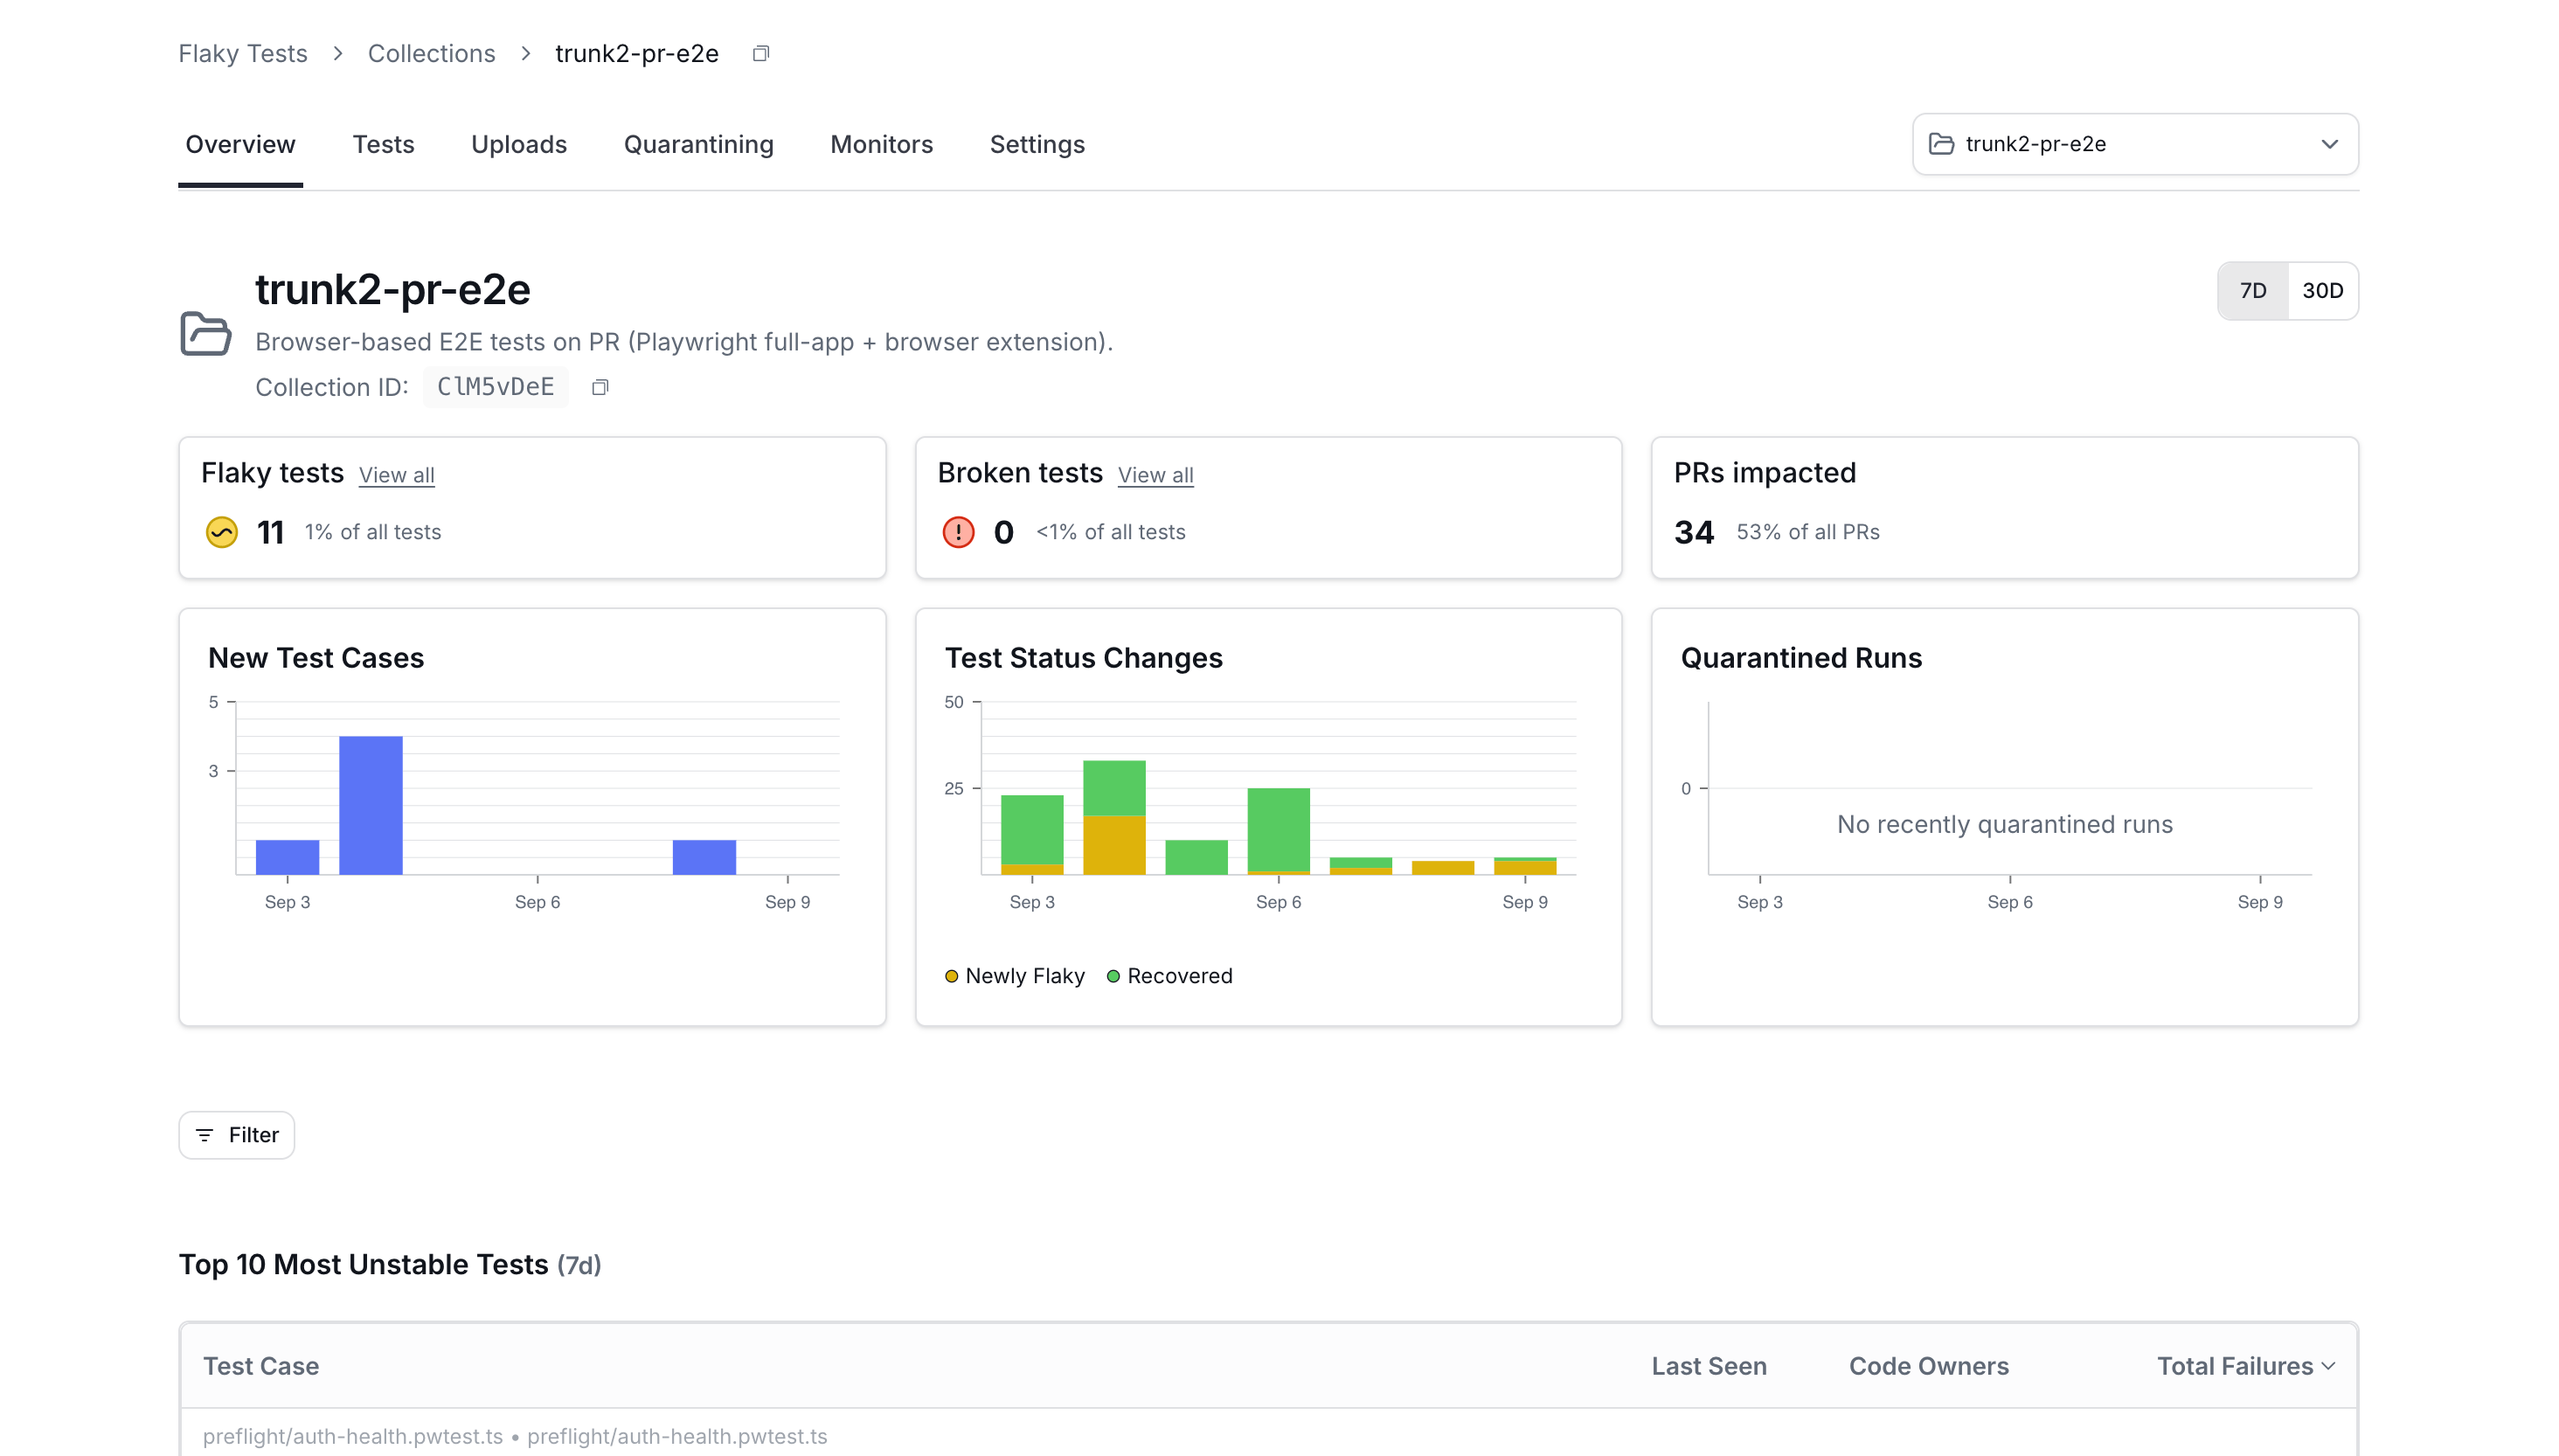
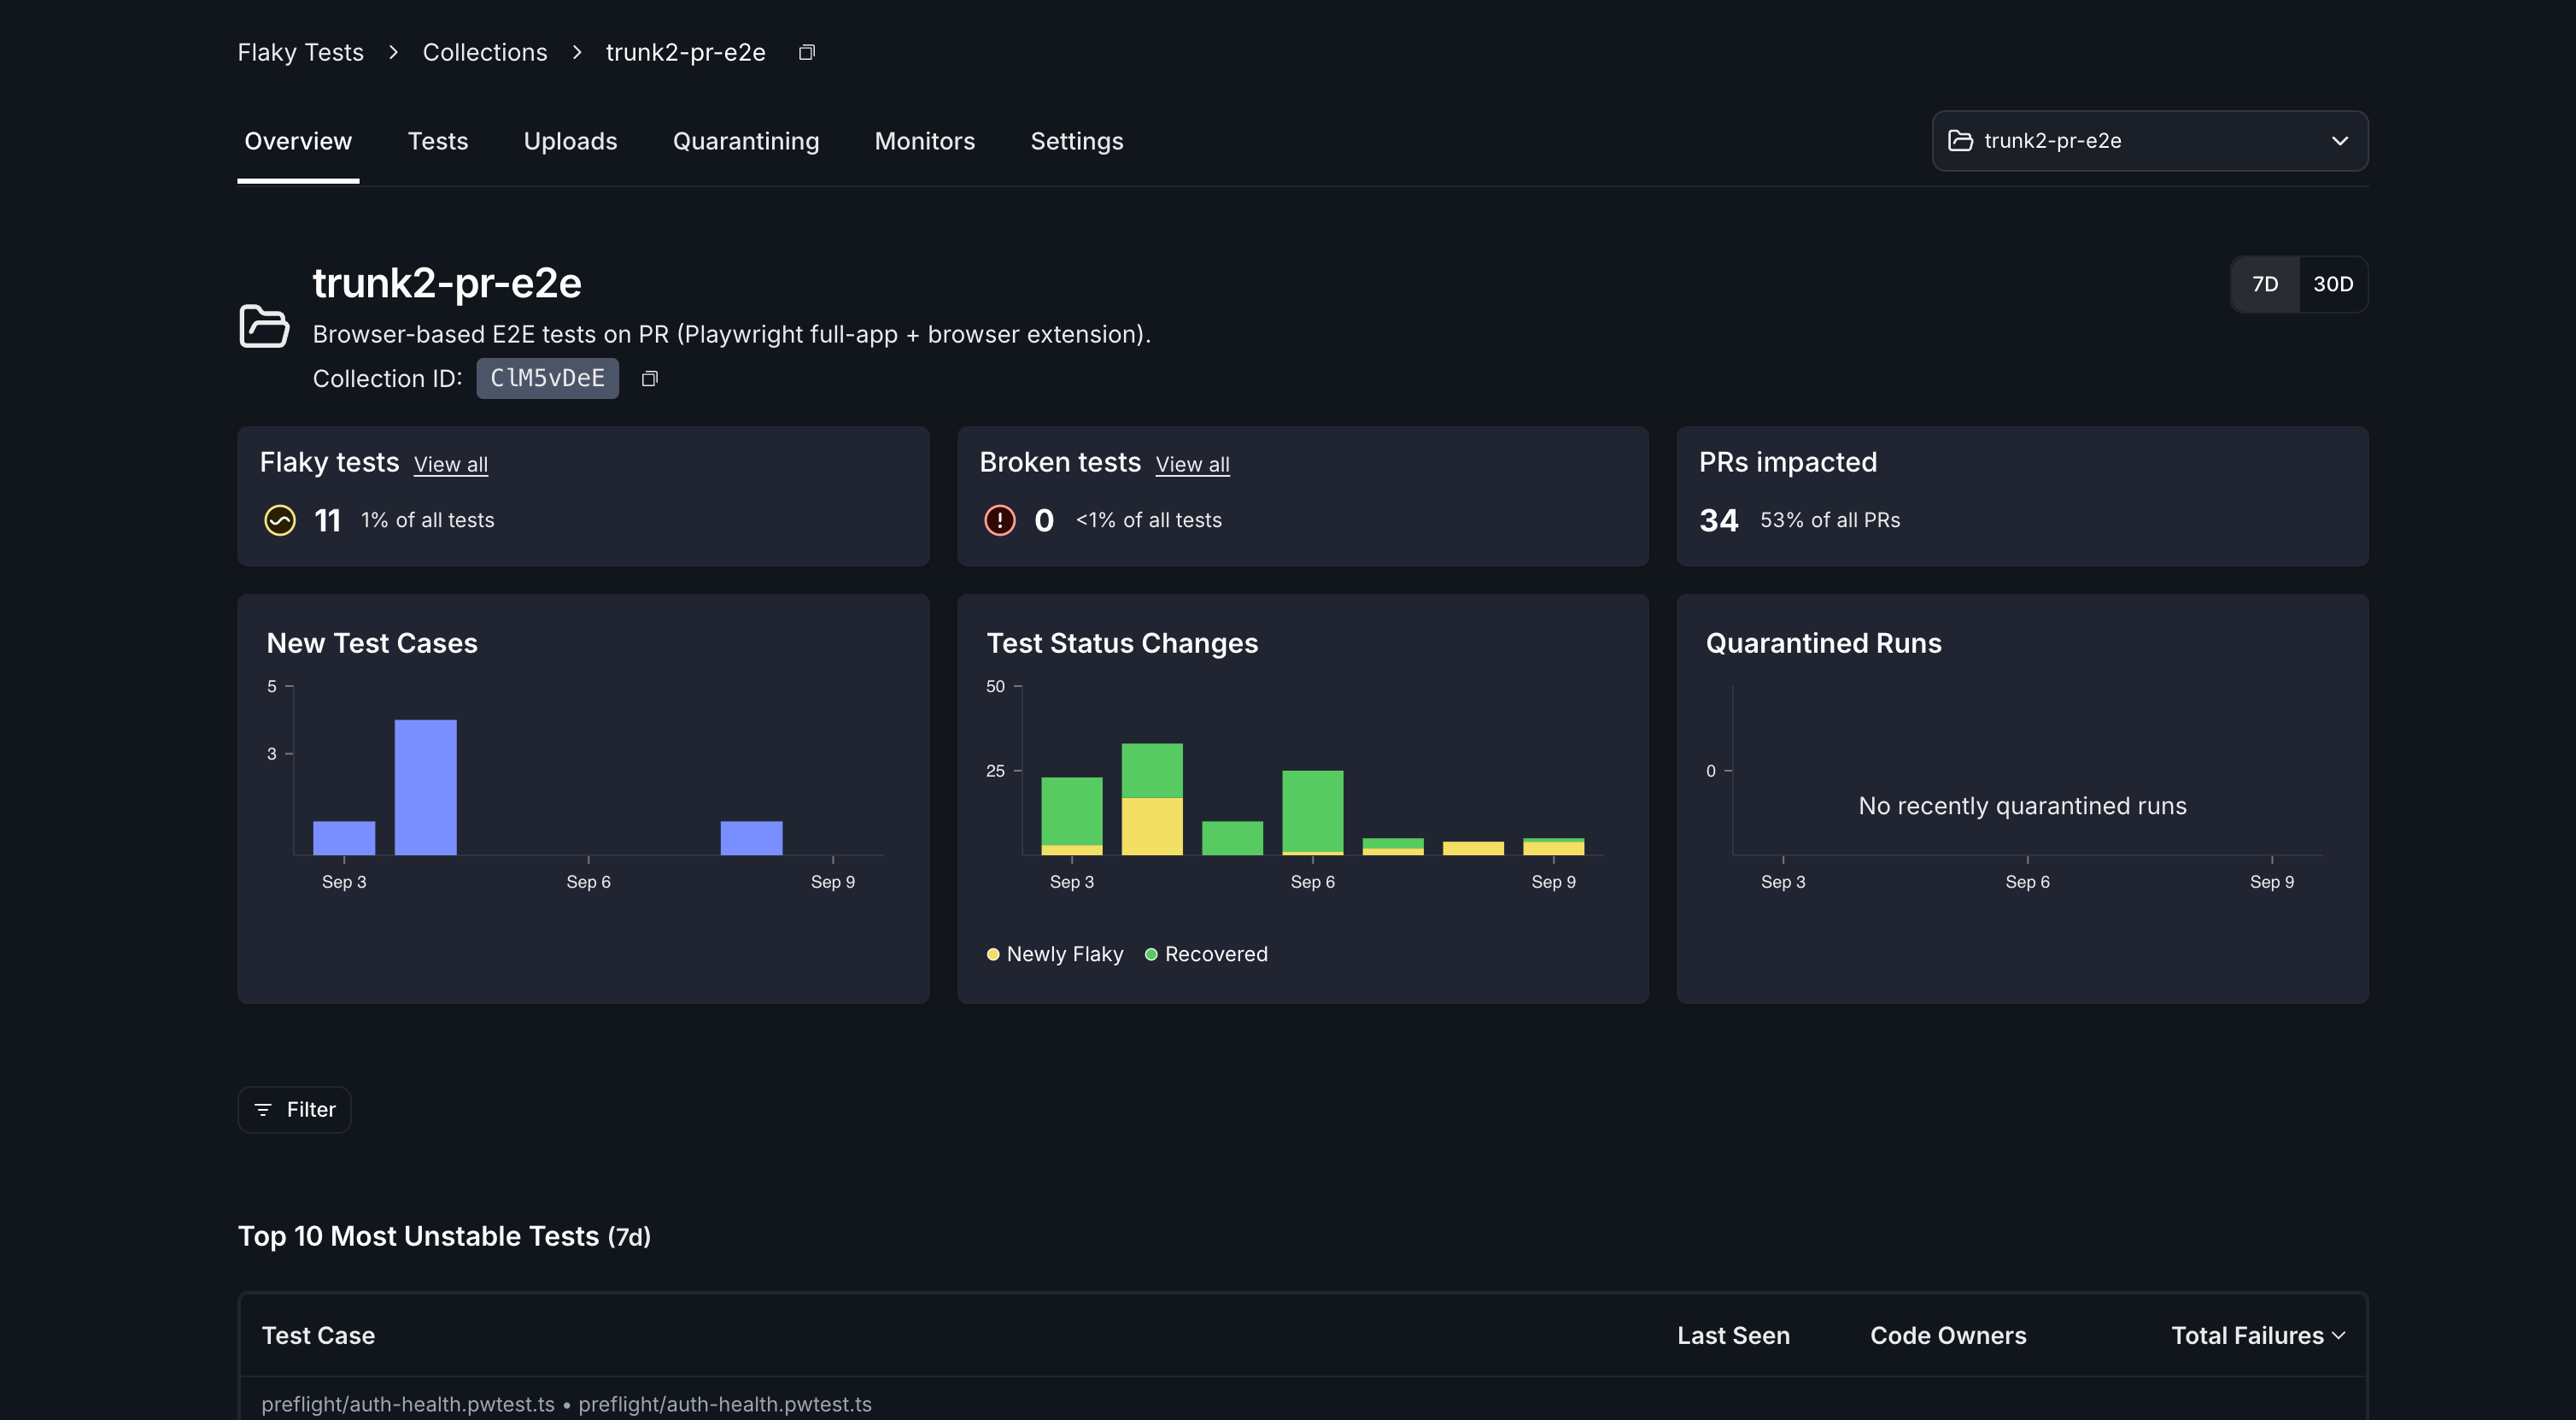
A collection's Overview tab, once test results are flowing.
Collections and repositories
Collections and repositories are many-to-many. A collection can include tests from multiple repositories, and a repository can be broken into multiple collections. This is decided by which collection you specify at upload time.
The Collection ID
Every collection has an ID: eight alphanumeric characters, unique across all of Trunk. It appears in the collection’s URL, on the collection’s page header, and in the ID column of the collections list, each with a button to copy it.Create a collection
Any member of your organization can create a collection.- In Flaky Tests, open Collections.
- Click Create Collection.
- Enter a Collection name, and a description if you want one.
- Click Create collection.
What a new collection starts with
A new collection starts with a basic set of flake-detection monitors, so detection starts working as soon as test results arrive. You can change them, and everything else about the collection, from its Monitors and Settings tabs.Upload test results to a collection
Pass the collection ID to the uploader alongside your organization slug. Both are required:TRUNK_TEST_COLLECTION_ID environment variable instead, or pass it as the test-collection-id input to the uploader action.
Everything else about your setup is unchanged. Adding the collection ID to a working upload step is the whole change. See Test Frameworks and CI Providers for the setup itself, and the CLI reference for the full flag list.
A CI job uploads to exactly one collection. To send results to more than one collection, add an upload step per collection.
Collection tabs
Finish setting up a collection
Each collection has a setup checklist, on its Overview tab before results arrive and on its Settings tab permanently. It tracks four steps:- Send your first upload
- Ingest your test results
- Review flake detection
- Review quarantining
Permissions
Delete a collection
Only organization admins can delete a collection.- Open the collection’s Settings tab.
- Click Delete collection.
- Confirm in the dialog.